
A well-structured lesson plan is the foundation for effective intervention. It provides a clear roadmap for targeting specific skills, measuring progress, and ensuring that every session is purposeful. For occupational therapists, teachers, and parents, a good plan transforms abstract goals into concrete, actionable steps. It helps organize activities, manage time, and adapt to the unique needs of each learner. By exploring different lesson plan examples, you can find a consistent framework for development in areas like fine motor control, sensory processing, and emotional regulation. This guide offers five practical templates you can adapt for your specific setting, whether it’s a therapy clinic, a classroom, or your home.
1. The Fine Motor Skills Station Plan
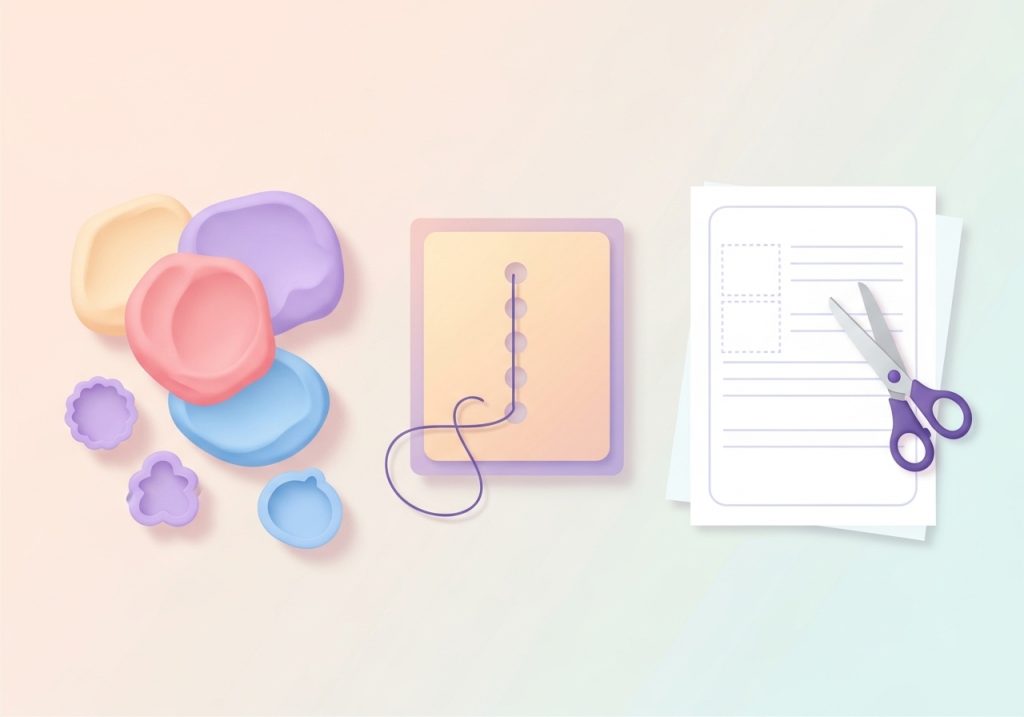
This plan focuses on building hand strength, dexterity, and bilateral coordination through a series of engaging stations. The structure allows learners to rotate through different activities, keeping them engaged while targeting multiple fine motor components in a single session. This format is easily adaptable for group therapy, classroom centers, or home practice, making it a versatile tool for skill development.
Objective
The primary goal is to improve pincer grasp, in-hand manipulation, and scissor skills over a 30-minute session. Each station targets a distinct component of fine motor control, providing varied practice within a structured timeframe.
Materials
- Station 1: Child-safe scissors and paper with pre-drawn lines (straight, curved, zigzag).
- Station 2: Playdough, small beads, or coins.
- Station 3: A lacing card and shoelace or yarn with a taped end.
- Station 4: Tweezers or tongs, small objects like pom-poms, and two containers.
Procedure and Stations
Set up four distinct stations and have the learner spend approximately 5-7 minutes at each one. A timer can help manage transitions.
Station 1: Scissor Skills Practice
The learner cuts along the pre-drawn lines. Start with straight lines, which are the easiest, before moving to curved and zigzag lines that require more complex wrist and hand movements. This station builds hand-eye coordination and the graded motor control needed for cutting.
Station 2: Playdough Power-Up
The learner rolls the playdough into balls, pinches off small pieces, and hides small beads or coins inside. Finding the hidden items requires using a precise pincer grasp and strengthens the intrinsic muscles of the hand.
Station 3: Lacing Challenge
The learner threads the lace through the holes on the lacing card. This activity promotes a mature pincer grasp, bilateral coordination (using both hands together), and visual motor skills.
Station 4: Tweezer Transfer
Using tweezers or tongs, the learner moves small pom-poms from one bowl to another. This task refines the pincer grasp and develops the control needed for tasks like buttoning and writing.
Adaptations and Modifications
- To simplify: Use larger beads for lacing, thicker lines for cutting, or larger objects for the tweezer transfer.
- To increase difficulty: Use smaller beads, more complex cutting shapes, or ask the learner to sort the pom-poms by color during the transfer task.
2. The Visual Motor Integration Sequence
Visual motor integration, or eye-hand coordination, is critical for tasks like handwriting, drawing, and catching a ball. This lesson plan example follows a logical progression from simple warm-ups to more complex activities. The sequence helps learners practice processing visual information and translating it into accurate motor output. This structured approach builds foundational skills systematically.
Objective
To improve the ability to accurately copy basic geometric shapes (e.g., circle, cross, square, triangle), focusing on correct formation, line closure, and orientation.
Materials
- Large writing surface (whiteboard, chalkboard, or easel).
- Paper and age-appropriate writing tools (pencils, crayons, markers). * Cards with pre-drawn shapes. * Worksheets with dot-to-dot shapes and shapes to trace.
Procedure and Sequence
Follow these steps in order, ensuring the learner achieves a degree of success at one level before moving to the next. This progression builds confidence and skills incrementally.
Warm-Up: Gross Motor Imitation (3-5 minutes)
Start with large-scale movements. Draw large shapes in the air with your arm and have the learner mirror your movements. You can also use your finger to “draw” a shape on the learner’s back and have them guess what it is. This activates the postural and shoulder muscles needed for writing.
Step 1: Tracing (5 minutes)
Provide a worksheet with faint or dotted-line shapes. The learner traces over the lines. This step requires the least visual-motor planning and helps the hand learn the motor pattern for each shape.
Step 2: Connecting the Dots (5 minutes)
Give the learner a dot-to-dot worksheet to form the shapes. This adds a small planning component, as the learner must visually scan to find the next dot and direct their pencil accordingly.
Step 3: Imitation (5 minutes)
Draw one shape at a time on the whiteboard while the learner watches. After you finish, the learner draws the same shape on their paper. This step requires them to watch the motor plan unfold and then replicate it from memory.
Step 4: Copying (5-10 minutes)
Place a card with a pre-drawn shape in front of the learner. They look at the completed shape and copy it onto their paper. This is the most complex step, as it requires the learner to visually analyze the shape, create a motor plan, and execute it without a demonstration.
Data Collection
Keep the learner’s worksheets to track progress. Note improvements in line closure (no gaps), correct number of corners, and proper orientation. This provides concrete evidence of skill development over time.
3. The Sensory Regulation ‘Engine Check’ Plan
This plan helps children develop self-awareness and learn to manage their sensory needs. Using the analogy of a car engine, it teaches them to identify if their body is running ‘too high,’ ‘too low,’ or ‘just right.’ The goal is to empower learners with strategies for self-regulation to achieve an optimal state for learning and engagement.
Objective
To teach a child to independently identify their arousal state and select an appropriate sensory strategy to modulate it, with the goal of returning to a “just right” level.
Materials
- A visual chart depicting an engine gauge with three levels: “Too High” (red), “Just Right” (green), and “Too Low” (blue).
- A toolkit of sensory items. For calming (‘Too High’): weighted lap pad, noise-canceling headphones, fidget tools, soft blanket. For alerting (‘Too Low’): crunchy snacks, sour candy, upbeat music, a small trampoline.
Procedure
This plan works best when integrated into a daily routine, such as before starting schoolwork or after recess.
Step 1: The Engine Check-In
Begin by asking, “How is your engine running right now?” Have the child point to the level on the chart that matches how their body feels. Discuss what each level feels like. For example, “Too High” might feel wiggly, silly, or angry. “Too Low” might feel sleepy, slow, or sad.
Step 2: Strategy Brainstorming and Selection
Based on their check-in, brainstorm appropriate strategies. If their engine is “Too High,” ask, “What could we do to help your engine slow down?” Guide them toward calming options from the sensory toolkit. If it’s “Too Low,” ask, “What could help your engine speed up a little?” and explore alerting options.

Step 3: Activity Engagement
The learner engages with their chosen sensory tool or activity for a predetermined amount of time, typically 3-5 minutes. The adult’s role is to facilitate, not direct, allowing the child to experience how the strategy affects their body.
Step 4: The Re-Check
After the sensory break, repeat the engine check-in. Ask, “How is your engine running now? Did that help?” This step is crucial for helping the child build self-awareness and learn which strategies are most effective for them.
Generalization
Encourage the use of this language and routine in other settings. A teacher can quietly ask a student to check their engine, or a parent can use it before homework time. This consistency helps the child internalize the skill of self-regulation.
4. The Structured Handwriting Practice Plan
Effective handwriting instruction involves more than just tracing letters. This comprehensive plan breaks down a handwriting session into key components, from preparatory gross motor movements to fine motor warm-ups and consistent letter formation practice. It ensures all underlying skills are addressed for legible and efficient writing. This approach helps build a strong foundation, which is useful for learning both print and cursive.
Objective
To improve the formation of a specific target letter (e.g., lowercase ‘d’) and practice writing it within a meaningful word.
Materials
- Vertical surface (whiteboard, easel).
- Multi-sensory writing materials (small tray with sand, shaving cream, or rice).
- Adapted handwriting paper with clear top, middle, and baselines.
- Pencils, pencil grips if needed.
Procedure
This 20-25 minute session is broken into short, focused segments to maintain attention and prevent fatigue.
Gross Motor Warm-Up (3-5 minutes)
Begin with activities that prepare the body for sitting and writing. Animal walks (like bear walks or crab walks), wall pushes, or chair push-ups provide proprioceptive input that helps with focus and postural stability.
Fine Motor Warm-Up (3-5 minutes)
Prepare the hands for writing. Simple exercises like rolling theraputty, finger “push-ups” (pressing fingertips together), or crumpling a piece of paper into a tight ball with one hand can activate the small muscles needed for pencil control.
Letter Instruction and Multi-Sensory Practice (5-7 minutes)
Introduce the target letter on a vertical surface, which promotes good wrist extension. Use consistent verbal cues, like “magic c, up like a tall tree, back down” for the letter ‘d’. Then, have the learner practice forming the letter with their finger in the multi-sensory tray. This tactile feedback helps lock in the motor plan. This focus on structured practice for letter formation is key to building muscle memory.
Paper and Pencil Practice (5-7 minutes)
Transition to handwriting paper. Start with tracing the letter, then copying it. Emphasize correct starting points, line adherence, and proper sizing. Provide feedback on just one or two aspects at a time to avoid overwhelming the learner.
Contextual Practice (3-5 minutes)
End the session by having the learner write the target letter in a familiar word, like ‘dog.’ This connects the abstract practice of letter formation to the meaningful act of writing, which increases motivation and carryover.
Adapting These Lesson Plan Examples for Your Needs
The true strength of any lesson plan lies in its flexibility. These examples are not rigid prescriptions but starting points to be modified for individual needs. A great plan is a living document that changes with the learner. Consider the learner’s specific goals, their current skill level, and the environment. When setting clear student goals, remember that the activities in your lesson plan should directly support those objectives.
A therapist might use one of these plans in a one-on-one session with specialized therapeutic tools. A teacher could adapt the fine motor stations for a full classroom using common supplies. A parent can use the handwriting practice structure at the kitchen table with simple household items. The key is to adjust the timing, complexity of the tasks, and the materials used to create a “just-right” challenge. This approach promotes success, builds confidence, and ensures that the learning experience is both effective and positive. The core structure of the plan remains, but the details change to fit the unique situation and person you are supporting.
Ready to put these ideas into action? Planning effective, engaging sessions takes time. The Inspiring OT offers a wide range of printable, evidence-informed activities designed by an experienced occupational therapist. From fine motor worksheets to sensory regulation toolkits, these resources can help you save time on prep and focus on what matters most: helping your learners succeed. Explore the shop to find practical tools that make skill-building simple and effective.
Leave a Reply