
Scaffolding in education is an instructional method where an educator provides temporary, targeted support to help a learner master a new skill or concept they could not achieve on their own. Just as scaffolding on a building provides a temporary structure for workers to stand on, educational scaffolding offers students the support they need to build new knowledge. This approach is fundamental for occupational therapists, teachers, and parents who guide children through developmental milestones, from learning to write their names to mastering complex life skills.
The Core Concept of Scaffolding in Education
The core idea behind scaffolding is providing just enough assistance to help a learner successfully complete a task that is slightly beyond their current abilities. It is not about giving answers or completing the work for them. Instead, it is a collaborative process where the educator provides prompts, tools, or structures that allow the learner to grow. As the learner gains competence and confidence, these supports are gradually removed, or “faded,” until they can perform the task independently.
Imagine teaching a child to ride a bicycle. You don’t just hand them the bike and expect them to succeed. You start with training wheels (a scaffold). Then, you might hold the back of the seat (another scaffold). Eventually, you let go for a few seconds at a time. Each step provides temporary support that is removed as the child’s own balance and skill improve. This is the essence of scaffolding in action. The support is responsive and tailored to the learner’s immediate needs, with the ultimate goal of making the support unnecessary.
Why Scaffolding is a Key Strategy for Skill Development
Implementing scaffolding strategies offers significant benefits for learners of all ages and abilities. It creates a supportive environment where students feel safe to take on challenges without being overwhelmed. When applied effectively, scaffolding contributes to deeper learning and greater self-reliance.
- Reduces Frustration: By breaking down complex tasks into manageable steps, scaffolding prevents the learner from feeling overwhelmed, which can often lead to shutting down or giving up.
- Builds Confidence and Motivation: Each small success achieved with support reinforces a student’s belief in their own abilities. This process helps cultivate a positive growth mindset, where challenges are seen as opportunities to learn.
- Makes Complex Skills Accessible: Scaffolding bridges the gap between a student’s current knowledge and the target skill. It makes grade-level content or complex developmental tasks achievable for learners who might otherwise struggle.
- Encourages Active Engagement: Because the student is an active participant in the task, rather than a passive recipient of information, they are more engaged in the learning process. This hands-on involvement helps solidify new knowledge.
How to Implement Scaffolding: A Practical Framework
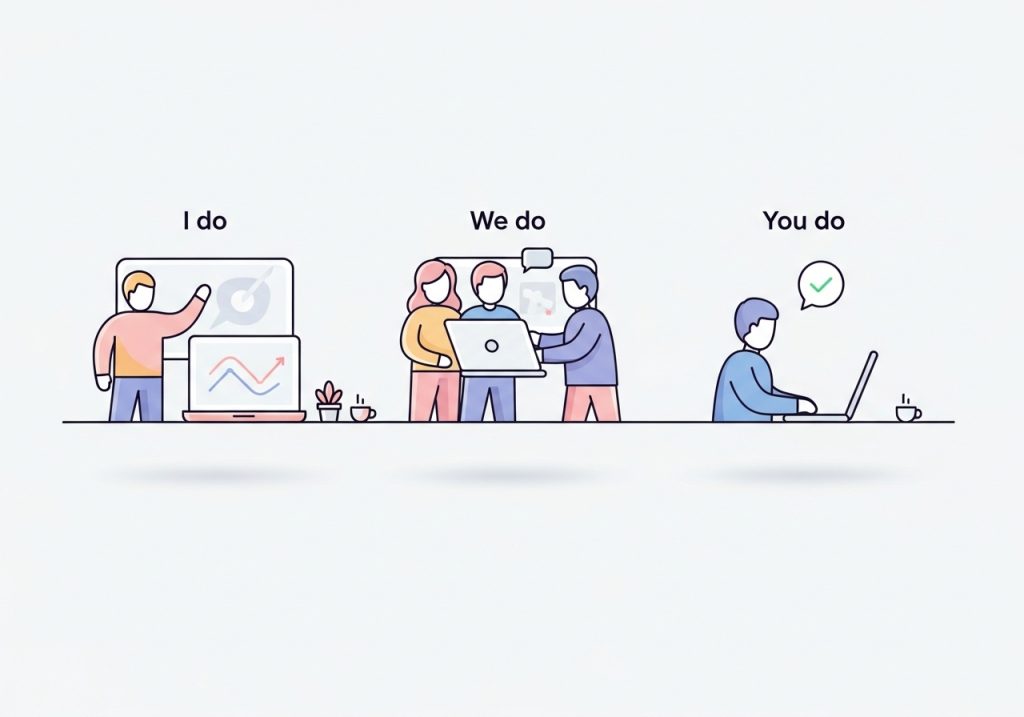
A widely recognized model for implementing scaffolding is the “I Do, We Do, You Do” framework. This gradual release of responsibility ensures that the learner receives explicit instruction, guided practice, and an opportunity for independent application. This structure is highly effective in both one-on-one therapy sessions and larger classroom settings.
I Do (Modeling)
In the first stage, the educator demonstrates the entire task from start to finish. This is more than just showing the final product. The educator should also “think aloud,” verbalizing their thought process, explaining their choices, and modeling how to handle potential mistakes. For example, when modeling how to write a summary, a teacher might say, “First, I’m going to read the paragraph and look for the most important idea. I think the main point is…”
We Do (Guided Practice)
Next, the educator and the learner perform the task together. This is a collaborative phase where the learner takes a more active role, but with the educator’s support readily available. The educator might ask guiding questions, offer prompts, or provide corrective feedback. For example, they might work together to complete a graphic organizer or solve the first few problems on a worksheet.
You Do (Independent Practice)
In the final stage, the learner attempts the task independently. The educator steps back, observing and assessing the learner’s proficiency. This does not mean the learner is left completely alone. The educator is still present to offer feedback or minimal support if needed, but the primary responsibility for completing the task now rests with the student. Success in this stage indicates that the skill is being internalized.
Scaffolding Techniques for OTs, Teachers, and Parents
Scaffolding is not a single technique but a collection of strategies that can be adapted to fit the learner and the task. Here are several practical techniques you can use in therapy, in the classroom, or at home.
- Breaking Down Tasks: One of the most common scaffolding methods is task analysis. This involves breaking a complex activity into a series of smaller, sequential steps. For example, teaching a child to get dressed involves scaffolding each step: putting on a shirt, then pants, then socks. This is especially useful when teaching essential daily life skills.
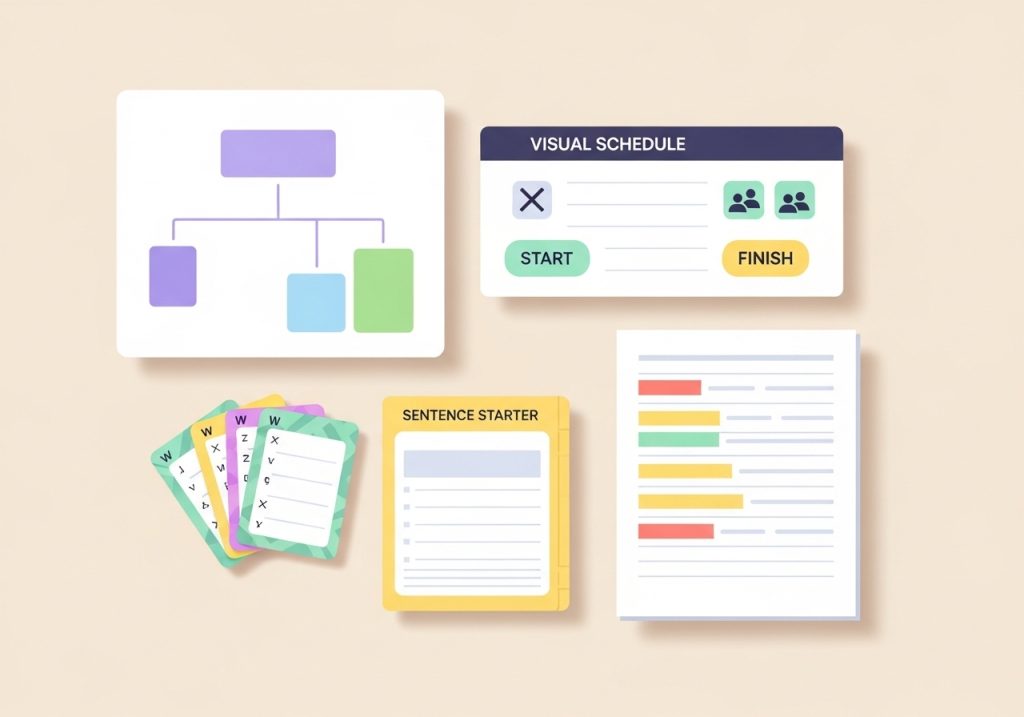
- Using Visual Aids: Visual supports like checklists, graphic organizers, and visual schedules can help learners organize their thoughts and track their progress. For example, a checklist can guide a student through the steps of a science experiment, and a graphic organizer can help them structure a paragraph. These tools provide a concrete structure for abstract processes.
- Providing Prompts and Cues: Prompts are hints that guide a learner toward the correct response. They can be verbal (e.g., “What sound does that letter make?”), gestural (e.g., pointing), or visual (e.g., highlighting the first letter of a word).
- Modeling and Think-Alouds: By verbalizing your thought process as you complete a task, you make the hidden, internal steps of an expert visible to a novice. This gives learners a clear model to follow when they attempt the task themselves.
- Activating Prior Knowledge: Before introducing a new concept, you can help students connect it to something they already know. Asking questions like, “What does this remind you of?” helps create a mental hook for the new information to attach to.
- Using Sentence Starters: For writing tasks, providing sentence starters (e.g., “In my opinion…”, “The main character felt…”) can help students overcome the challenge of a blank page and focus on expressing their ideas.
Connecting Scaffolding to the Zone of Proximal Development
The concept of scaffolding is closely linked to the work of psychologist Lev Vygotsky and his theory of the Zone of Proximal Development (ZPD). The ZPD is defined as the space between what a learner can do independently and what they can do with guidance from a more knowledgeable other (like a teacher, therapist, or peer). Learning is most effective when it occurs within this zone.
Scaffolding is the practical application of this theory. It provides the exact support needed to help a student function successfully within their ZPD. The task is challenging enough to promote growth but not so difficult that it causes frustration. The educator’s role is to accurately assess a student’s ZPD and provide appropriate scaffolds that enable them to bridge the gap toward independence.
Fading Scaffolds to Foster True Independence
The final, and perhaps most important, part of the scaffolding process is the gradual removal of supports. Scaffolding is intended to be temporary. If the supports are never removed, the learner can become dependent on them, and true mastery of the skill is never achieved. The goal is always to foster autonomy.
Fading should be done systematically as you observe the learner’s growing competence. When a student demonstrates consistent success with a particular support in place, it is time to reduce that support or remove it entirely. For example, if you were providing hand-over-hand assistance for handwriting, you might transition to lightly touching their elbow, then to just providing verbal cues, and finally to independent practice. This gradual release ensures the learner builds confidence at each step and is prepared to handle the skill on their own.
Ultimately, scaffolding is a responsive and dynamic teaching strategy. It requires careful observation and a deep understanding of each learner’s needs. By providing the right support at the right time, we can help students build the skills, confidence, and independence they need to succeed in their learning and in life.
Putting these scaffolding strategies into practice is easier with the right tools. If you are looking for evidence-informed, low-prep activities designed by an experienced occupational therapist to support skill development, explore the resources at The Inspiring OT. Our printable worksheets, guides, and activities are crafted to help you build skills and foster independence in your learners. Find practical solutions for your classroom, clinic, or home today.
Leave a Reply