
The most effective way to introduce the Zones of Regulation is through a four-step process: first, explain the four color-coded zones; second, help learners connect feelings to each zone; third, introduce specific self-regulation tools; and finally, practice identifying zones and using tools in daily routines. This structured approach helps children and adults build a concrete vocabulary for their emotional states and develop functional strategies for managing them. Developed by occupational therapist Leah Kuypers, the Zones of Regulation is a framework that uses colors to categorize our feelings and levels of alertness, making abstract concepts easier to understand.
Teaching emotional regulation is a foundational skill that supports academic learning, social participation, and overall well-being. By using a simple, color-coded framework, you provide learners with a visual and accessible language to communicate their internal experiences. This guide breaks down how to introduce this powerful tool in a way that is clear, supportive, and effective for therapists, teachers, and parents.
What Are the Zones of Regulation?
Before diving into the steps, it’s important to understand the core concept. The Zones of Regulation is a curriculum designed to teach self-regulation by categorizing feelings and states of alertness into four distinct “zones.” Each zone is represented by a color, which helps learners identify how they are feeling in the moment and gives them a simple way to talk about it. The framework is not about judging feelings; instead, it emphasizes that it’s okay to experience all the zones and that the goal is to develop a toolbox of strategies to manage them. The focus is on awareness and building skills, not on staying in one particular zone all the time.
Step 1: Explain the Four Colored Zones
The first step is to introduce the four colors and what they represent. Use neutral, non-judgmental language to describe each zone. The key is to teach that every zone is a normal part of human experience. You can create posters, use colored cards, or simply draw the zones on a whiteboard. According to materials from providers like the NHS, emotions are sorted to make them less complicated.
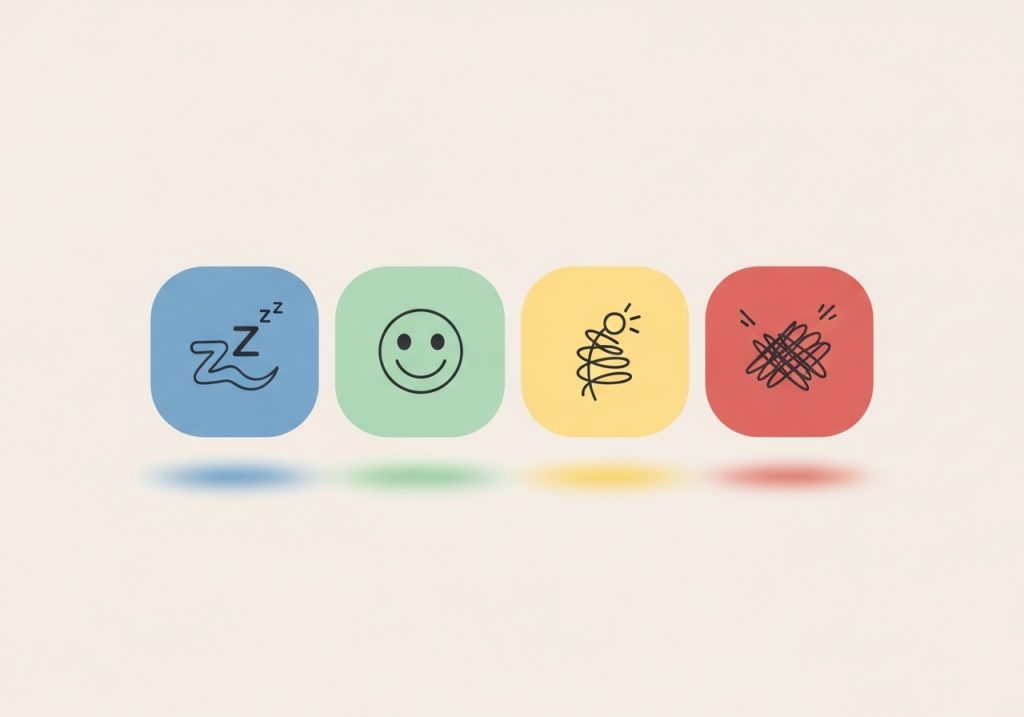
- The Blue Zone: This zone represents a low state of alertness. You can describe it as feeling tired, sick, sad, or bored. Your body feels slow, like a car that is just starting up.
- The Green Zone: This is the ideal state for learning and social interaction. Describe it as feeling calm, happy, focused, or content. Your body feels just right, ready to go.
- The Yellow Zone: This zone represents a heightened state of alertness. Feelings here might include stress, frustration, anxiety, excitement, silliness, or nervousness. Your body is starting to speed up, and you are losing some control.
- The Red Zone: This is an extremely heightened state of alertness. This includes feelings like intense anger, terror, explosive behavior, or elation. In the Red Zone, you feel out of control.
Step 2: Connect Feelings and Body Signals to Each Zone
Once learners are familiar with the four colors, the next step is to help them connect their own feelings and body signals to each zone. This builds self-awareness. The goal is for a child to recognize, “My stomach feels fluttery and my hands are sweaty, so I must be in the Yellow Zone.”
Activities for Connecting Feelings to Zones:
- Emotion Sorting: Write down or use picture cards of different emotions (happy, sad, worried, silly) and have learners sort them into the four zone colors.
- Body Mapping: Provide an outline of a person and ask the learner to color in where they feel certain emotions. For example, they might color the stomach yellow for “worried” or the head red for “angry.”
- Scenario Discussions: Talk through different situations and ask what zone a person might be in. For example, “What zone might you be in before giving a presentation?” or “What zone are you in when you wake up in the morning?”
- Personal Check-Ins: Make it a habit to ask, “What zone are you in right now?” This helps learners practice identifying their state in real-time. Discuss how their body feels and what thoughts are going through their mind.
Step 3: Introduce Self-Regulation Tools and Strategies
After a learner can identify their zone, you can introduce a “toolbox” of strategies to help them manage it. It is important to present these as helpful tools, not punishments. The right tool depends on the person, the environment, and the zone they are in. Brainstorming a list of strategies together can increase buy-in.
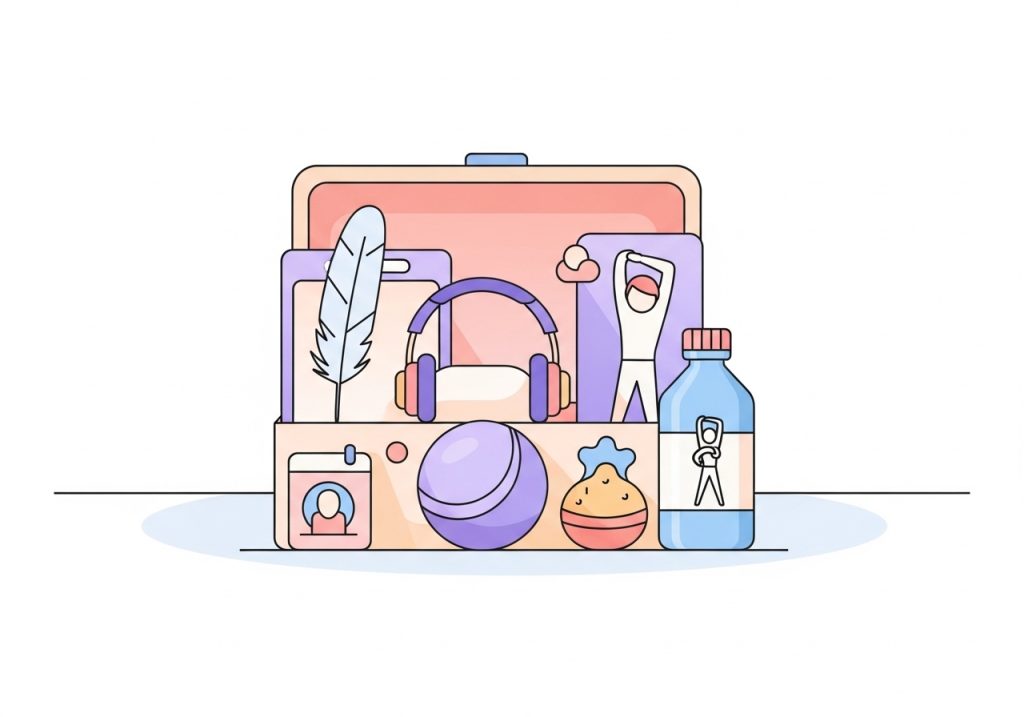
Examples of Tools for Each Zone:
- For the Blue Zone (to increase alertness):
- Stretching or jumping jacks
- Drinking a cold glass of water
- Listening to upbeat music
- Taking a short walk
- For the Green Zone (to maintain this state):
- Positive self-talk
- Continuing with the task at hand
- Practicing mindfulness
- For the Yellow Zone (to calm and refocus):
- Deep breathing exercises
- Using a fidget tool
- Taking a planned break
- Squeezing a stress ball
- For the Red Zone (to achieve safety and calm):
- Asking for help from a trusted adult
- Moving to a quiet, safe space
- Pushing against a wall
- Using a heavy blanket
Many of these tools are sensory-based. When considering strategies, thinking about creating a sensory-supportive environment can provide even more ideas for a learner’s toolbox. You can find many other helpful Zones of Regulation activities to build out this toolbox.
Step 4: Practice Identification and Apply Strategies in Daily Routines
The final and most critical step is to integrate the Zones language and strategies into everyday life. Consistent practice helps learners generalize these skills beyond a single therapy session or classroom lesson. The goal is for self-regulation to become an automatic process.
Ways to Integrate Practice:
- Model Your Own Zones: Adults should model identifying their own zones and using strategies. Saying, “I’m feeling in the Yellow Zone because this traffic is frustrating. I am going to take some deep breaths,” is a powerful teaching tool.
- Create Visual Supports: Keep a Zones poster visible in the classroom or home. A learner could have a small, personal copy on their desk with their top strategies listed for each zone.
- Incorporate Zone Check-Ins: Make zone check-ins a part of the daily schedule, such as during a morning meeting, after recess, or before starting a challenging task.
- Provide Gentle Prompts: Instead of saying, “Calm down,” you can ask, “It looks like you might be in the Yellow Zone. What tool from your toolbox could help you get back to Green?” This empowers the learner to solve the problem.
Teaching the Zones of Regulation is not a one-time lesson; it is an ongoing conversation. By following these steps, you can provide learners with a valuable framework for understanding their emotions and developing the skills needed to manage them effectively. This process builds a foundation for emotional intelligence, resilience, and success across all areas of life.
Ready to put these strategies into action? Finding the right printable activities and visual supports can make teaching self-regulation easier and more engaging. Visit The Inspiring OT shop to discover a wide range of practical, OT-designed resources. From self-regulation toolkits to fine motor activities, you’ll find low-prep tools to support skill development in your therapy sessions, classroom, or at home.
Leave a Reply