
Creating a sensory-friendly classroom involves observing student needs, modifying the physical environment, integrating sensory breaks, providing appropriate tools, and collaborating with specialists. Many students experience the world differently due to their unique sensory processing systems. For some, the hum of fluorescent lights or the texture of a chair can be overwhelming, while others may need more movement to stay focused. By understanding and addressing these sensory needs, you can reduce behavioral challenges and help every student access learning more effectively. This guide for teachers provides a clear, step-by-step approach to building a more inclusive and supportive learning space.
Step 1: Observe and Identify Sensory Needs
The first step is to become a detective of sensory behaviors. Observe your students throughout the day to identify patterns without making formal diagnoses. Some children may be sensory-seeking, meaning they crave input, while others are sensory-avoiding and easily overwhelmed. Keep simple notes on what you see, noting the time of day, the activity, and the specific behavior. This information will help you understand each student’s triggers and needs. Look for behaviors such as:
- Sensory-Seeking Behaviors: Constant fidgeting, rocking in their chair, touching objects and peers, making frequent noises, or preferring to stand or move while working.
- Sensory-Avoiding Behaviors: Covering ears during loud activities, withdrawing from group work, showing distress over messy hands, avoiding certain textures in clothing or on chairs, or seeming bothered by bright lights.
Understanding these patterns is the foundation for all other supports you will implement in the classroom.
Step 2: Modify the Classroom Environment
Small changes to the physical classroom can have a significant impact on student regulation and focus. A cluttered or overly bright room can be overstimulating for some students. Consider making a few adjustments to create a calmer atmosphere.
- Lighting: Use fabric covers to dim harsh fluorescent lights or bring in lamps for a softer glow.
- Sound: Place tennis balls on the bottoms of chair and desk legs to reduce scraping noises.
- Visuals: Organize materials in labeled bins and keep wall displays simple and focused rather than overwhelming.
You can also create a designated “calm-down corner” with a soft rug, pillows, or a beanbag chair. This quiet space allows any student to take a brief break and reset. This type of designated space is a key part of using a self-regulation zones framework to support emotional awareness.

Step 3: Integrate Movement and Sensory Breaks
All students, especially those with sensory needs, require opportunities for movement. Integrating short, structured breaks into your daily routine can help improve attention and reduce restlessness. These are often called “brain breaks.” You can schedule them at predictable times, such as after a long period of seated work. Many simple sensory play activities can double as effective brain breaks. Some easy ideas include:
- Having the class stand up and do five jumping jacks.
- Stretching like a cat or reaching for the ceiling.
- Pushing against a wall for deep pressure input.
- Heavy work activities, like carrying a stack of books to the library or helping to move a cart, which can be very calming and organizing for the nervous system.
For students who need more consistent input, consider offering alternative seating options like wobble stools, seat cushions, or therapy ball chairs.
Step 4: Provide Sensory Tools and Supports
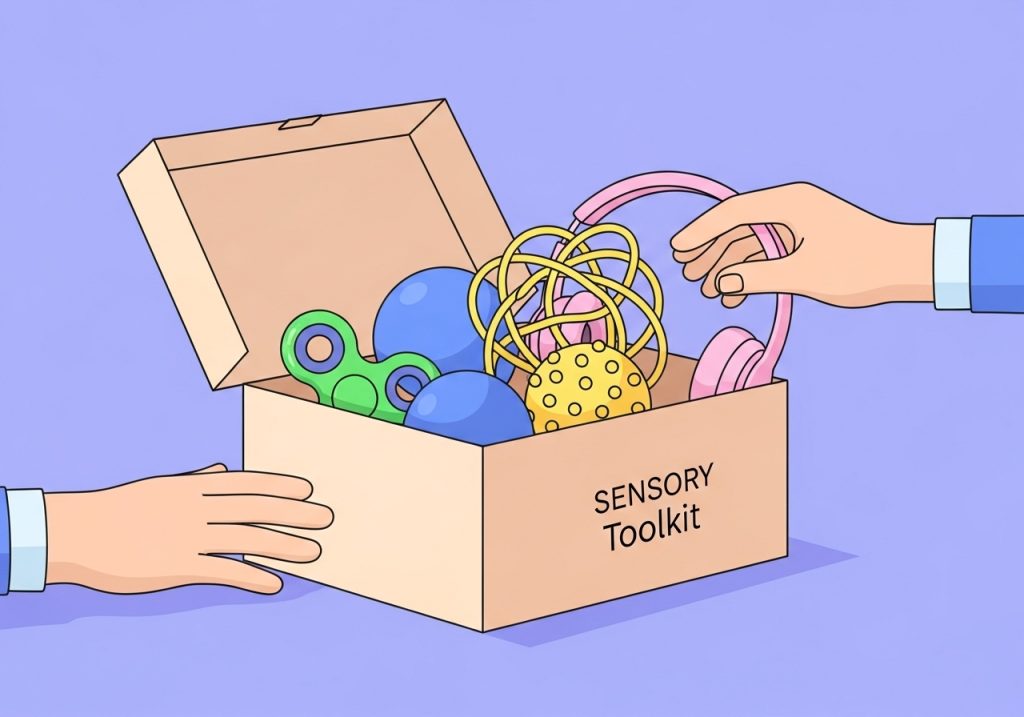
Sensory tools are items that can help a student self-regulate in a non-disruptive way. It is important to teach the whole class that these are tools for learning, not toys. Introduce a classroom “sensory toolkit” that students can access when they feel overwhelmed or unfocused. The key is to match the tool to the student’s specific need and to establish clear expectations for its use. Good options include:
- Fidget Tools: Items like stress balls, therapeutic putty, or textured rulers can be used quietly at a student’s desk. Using these tools can also help improve fine motor skills.
- Auditory Support: Noise-reducing headphones can be a great help for students sensitive to sound during independent work time.
- Deep Pressure Tools: Weighted lap pads can provide calming deep pressure for students who have trouble staying seated and focused.
Step 5: Collaborate with Parents and Specialists
Building a supportive classroom is a team effort. Communicate your observations with parents and caregivers, as they can provide valuable insight into what works for their child at home. If your school has an occupational therapist (OT), they are an excellent resource. An OT can provide specific strategies, recommend tools, and help you understand the “why” behind a student’s sensory behaviors. Working together ensures a consistent approach across different environments, which is critical for helping a student develop self-regulation skills. Sharing successes and challenges with the team helps everyone stay on the same page and adjust strategies as the student’s needs change.
Implementing Your Sensory-Informed Classroom: A Teacher’s Guide to Success
Transforming your classroom into a sensory-friendly space is a process of observation, trial, and adaptation. By following these steps, you create a more predictable and comfortable environment where all students have a better opportunity to thrive. Remember that consistency is important, and what works for one student may not work for another. Continue to observe and adjust as you learn more about your students’ individual profiles. Start with one or two small changes, and build from there to create a classroom that supports every learner.
Ready to put these strategies into action? Explore The Inspiring OT resource shop for practical, low-prep activities and tools designed by an experienced occupational therapist. Find printable guides, sensory toolkits, and engaging worksheets to support skill development in your classroom or home. Visit the shop today to discover resources that make planning simple and learning successful. Browse The Inspiring OT resources here.
Leave a Reply