
Creating a supportive and productive learning environment is a primary goal for every educator, therapist, and parent. Effective classroom management strategies are not just about maintaining order; they are about fostering an atmosphere where every student can thrive. An occupational therapy perspective offers unique insights into this process, focusing on the underlying sensory, motor, and emotional needs that influence a child’s behavior and ability to engage. By understanding these foundations, we can shift from reactive discipline to proactive, skill-building support that empowers learners.
This guide explores five practical, OT-informed strategies that can be implemented in any learning setting. These approaches help create structure, teach self-regulation, and promote student autonomy, leading to a more cooperative and focused classroom for everyone.
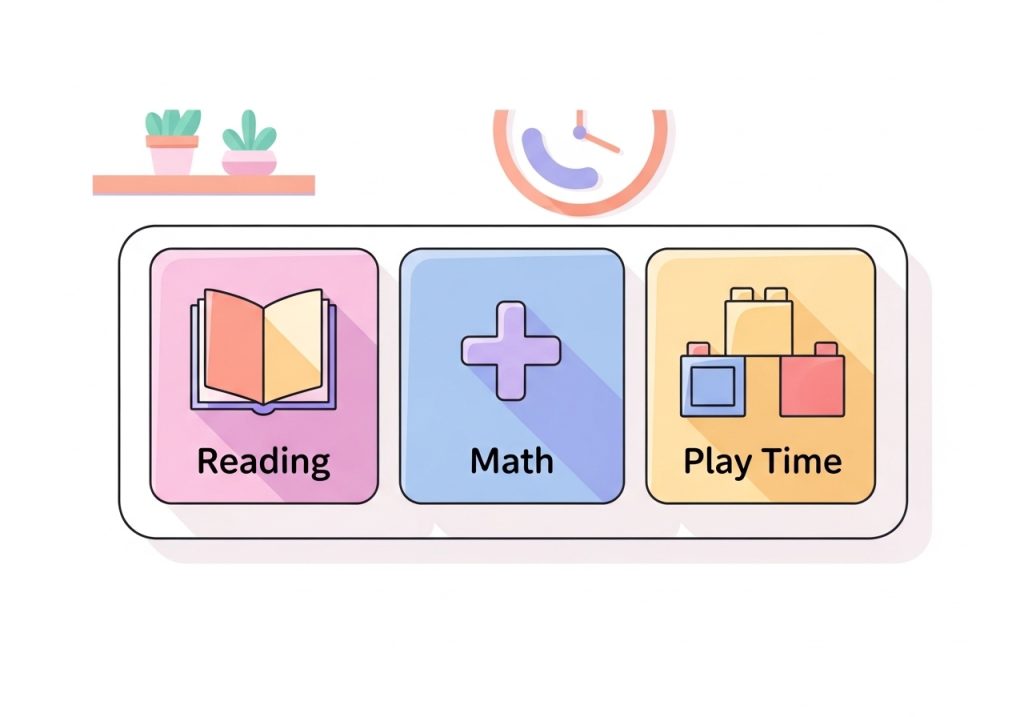
Establish Clear Visual Schedules and Routines
Predictability is a powerful tool for reducing anxiety and promoting a sense of safety for many students, especially those with processing or executive function challenges. When learners know what to expect and what is expected of them, they can dedicate more cognitive energy to learning instead of trying to figure out the day’s structure. Visual schedules provide a concrete, easy-to-reference guide to the daily flow of activities.
A visual schedule can be a whole-class display on a whiteboard or a personal strip on a student’s desk. The key is to make it accessible and consistent. According to the Institute of Education Sciences, setting up the classroom environment for success is a critical component of management, and visual supports are a cornerstone of this principle. The effectiveness of these tools depends on a student’s ability to process visual information. Understanding what a visual perceptual skill is can help you design clearer and more effective aids for your learners.
How to Implement Visual Schedules:
- Use Simple Images and Text: For younger learners or non-readers, use clear pictures or icons. For older students, simple text labels work well. Consistency in the images and format helps students learn the routine quickly.
- Make It Interactive: Allow students to move a marker or check off activities as they are completed. This interaction gives them a sense of accomplishment and control over their day.
- Introduce Changes Visually: If there is a change in the schedule, like a special assembly or a fire drill, add a visual card to the schedule to prepare students for the shift. This pre-warning can prevent meltdowns and ease transitions.
Incorporate Proactive Movement and Sensory Breaks
Students need to move. For many, sitting still for long periods is not just difficult; it’s counterproductive to learning. The sensory system requires regular input to stay organized and alert. Proactive movement breaks are short, planned activities designed to provide this input before a student becomes fidgety, distracted, or dysregulated. This is different from a reactive approach, where a break is given only after a behavioral challenge occurs.
These breaks help students develop better awareness of their body’s needs, a process related to our internal body sense. This is a foundational concept for self-regulation, and it’s particularly important when understanding interoception and its connection to student needs. By providing scheduled opportunities for sensory input, you help students maintain an optimal state for learning throughout the day.
Examples of Proactive Sensory Breaks:
- Heavy Work Activities: These activities involve pushing or pulling and provide calming proprioceptive input. Examples include chair push-ups, wall pushes, carrying a stack of books, or helping to move furniture.
- Vestibular Input: Activities that involve movement of the head can be alerting or organizing. Simple actions like spinning in a chair a few times, doing jumping jacks, or stretching with yoga poses can reset a student’s focus.
- Transition Tasks: Build movement into transitions between subjects. Have students stand up and stretch, walk to a designated spot to retrieve materials, or do a quick “brain break” video.
Create a Designated Calm-Down Corner
Every student can feel overwhelmed, frustrated, or anxious at times. A designated calm-down corner, or “peace corner,” is a safe, quiet space within the classroom where students can go to practice self-regulation skills. It is essential to frame this space not as a punishment or a time-out area, but as a supportive tool that anyone can use when they need to reset their emotions.

Teaching students how and when to use this space is a critical life skill. You can introduce the corner to the whole class, explaining its purpose and modeling how to use the tools inside. This approach aligns with research-based strategies that emphasize teaching and reinforcing new social and emotional behaviors. A well-designed corner empowers students to identify their feelings and take positive action.
What to Include in a Calm-Down Corner:
- Comfortable Seating: A soft rug, a beanbag chair, or large pillows can create a comforting physical space.
- Calming Sensory Tools: Provide a small selection of items that offer calming input, such as squishy balls, fidget tools, weighted lap pads, or noise-reducing headphones.
- Visual Aids for Emotions: Include a feelings chart or cards that help students identify and label their emotions. You can also add visuals demonstrating calming strategies, like deep breathing exercises.
- A Timer: A simple sand timer can help structure the break, allowing a student to take a set amount of time (e.g., 3-5 minutes) before rejoining the group.
Use ‘First-Then’ Language for Task Initiation
For students who struggle with starting tasks or transitioning between activities, the “First-Then” strategy is a simple yet powerful tool. This verbal or visual cue frames expectations in a clear, positive sequence: first, you complete a less-preferred task, and then you get to do a preferred activity. This structure helps students understand what is required and provides a built-in motivator to complete the initial task.
This technique is a perfect example of what scaffolding in education looks like in practice. It provides temporary support to help a learner bridge the gap between reluctance and engagement. Over time, as a student’s ability to initiate tasks improves, the need for this explicit cue may decrease.
How to Apply the ‘First-Then’ Strategy:
- Keep It Simple: The language should be direct and concise. For example, “First, we’ll write three sentences, then you can use the computer.”
- Use a Visual Board: For some learners, a “First-Then” board with pictures or words can make the concept more concrete. Place the image for the non-preferred task in the “First” column and the preferred one in the “Then” column.
- Ensure Immediate Reinforcement: The “Then” activity should be available immediately after the “First” task is completed. Delaying the reward weakens the connection and reduces the strategy’s effectiveness.
- Be Consistent: Use this language consistently across different activities and settings to help students internalize the structure.
Offer Tiered Choices to Promote Student Autonomy
Behavioral challenges often stem from a student feeling a lack of control over their environment. Providing choices is a proactive strategy that grants students a sense of agency and ownership over their learning, which can significantly increase cooperation and engagement. The key is to offer a limited set of appropriate, pre-approved options that all lead to the desired learning outcome.
This is not about letting students do whatever they want. It is about strategically sharing control. Giving students a voice in their activities can transform a potential power struggle into a collaborative effort. As noted by educators at Warner Pacific University, instructional approaches that promote student engagement are highly effective for classroom management. Offering choices is a direct way to foster that engagement.
Examples of Meaningful Choices:
- Choice of Tools: Allow students to choose their writing instrument (e.g., pen, pencil, marker) or the type of paper they use.
- Choice of Order: When an assignment has multiple parts, let students decide the order in which they complete them.
- Choice of Location: Offer different seating options for independent work, such as a traditional desk, a standing desk, a wiggle cushion, or a designated spot on the floor.
- Choice of How to Demonstrate Learning: When appropriate, allow students to choose how they show what they know, such as writing a paragraph, drawing a picture with labels, or creating a short presentation.
By integrating these OT-informed classroom management strategies, you can create a more predictable, supportive, and empowering environment. These techniques focus on building essential skills like self-regulation, task initiation, and emotional awareness. They help address the root causes of challenging behaviors, allowing you to guide students toward greater independence and success in their learning journey.
Ready to put these strategies into action? The Inspiring OT offers a wide range of practical, low-prep printable activities and resources designed by an experienced occupational therapist. From visual schedules and sensory break cards to fine motor tasks and regulation tools, you’ll find everything you need to support your learners. Explore the shop today to discover engaging materials that make skill-building simple and effective.
Visit The Inspiring OT on Teachers Pay Teachers to find your next classroom resource.
Leave a Reply