
To write in cursive, you should follow a systematic process that begins with mastering foundational strokes, learning letters in groups based on motor patterns, and then practicing how to connect those letters into fluid words. While it may seem complex, cursive writing is an achievable skill that offers significant cognitive and motor benefits. It promotes faster writing, enhances fine motor coordination, and can even improve spelling and sentence construction by helping learners perceive words as connected units. This guide provides a clear, step-by-step approach for therapists, teachers, and parents who are wondering, “How do I write in cursive?” and want to effectively teach this valuable skill.
Step 1: Establish a Solid Foundation for Writing
Before a single cursive letter is formed, it is essential to prepare the learner for success. A stable and comfortable physical setup prevents fatigue, promotes better motor control, and allows the brain to focus on the new task of learning cursive script. Skipping these fundamentals can lead to poor habits that are difficult to correct later. Key areas to address include:
- Proper Posture: The learner should sit with their feet flat on the floor, back straight against the chair, and shoulders relaxed. The desk height should allow their forearms to rest comfortably on the surface without hunching.
- Paper Positioning: The paper should be slanted. For right-handed writers, the top right corner of the paper should be tilted up. For left-handed writers, the top left corner should be tilted up. This angle aligns the paper with the natural arc of the writing arm, making it easier to produce slanted cursive letters.
- Pencil Grasp: An efficient pencil grip, such as the tripod or quadruped grasp, is crucial. It allows for precise finger movements and prevents hand strain. The pencil should be held lightly, not gripped tightly. Setting clear and practical goals for these foundational skills is an excellent way to start the learning process.
Step 2: Master the Basic Cursive Strokes
Cursive letters are not drawn as individual shapes but are formed from a series of flowing, connected strokes. By practicing these foundational movements first, learners build the muscle memory required for smooth letter formation. This approach breaks down complex letters into manageable components. This is a core concept in many developmental curricula, including what is taught in the Handwriting Without Tears program, which emphasizes multisensory and developmental strategies.

Focus practice on these primary strokes:
- Undercurve: A smiling line that starts at the baseline, curves up, and comes back down (e.g., the beginning of letters i, t, u).
- Overcurve: A frowning line that starts below the midline, curves over, and comes back down (e.g., the beginning of letters m, n, v).
- Up-and-Down Stroke: A straight line that travels from top to bottom and back up again (e.g., in letters t, p).
- Loops: Both ascending loops that go up (like in l, h) and descending loops that go down (like in g, y, j).
Step 3: Learn Lowercase Letter Formations by Group
Instead of teaching the alphabet from A to Z, a more effective method is to group letters by their similar initial strokes. This strategy reinforces motor patterns, as the learner performs the same initial movement for several different letters. It makes the learning process more intuitive and helps build confidence quickly.
Example Letter Groups
- Undercurve Letters: These letters all start with the “smile” or undercurve stroke. Examples include i, t, u, w, r, s, j, p, e.
- Overcurve Letters: These letters begin with the “frown” or overcurve motion. Examples include n, m, v, x, y, z.
- “Wave” or “C” Stroke Letters: These letters start with a curve similar to the printed letter ‘c’. Examples include c, a, d, g, o, q.
- Loop Letters: These are distinguished by their prominent loops. Examples include e, l, h, k, b, f, g, y, j, z.
Step 4: Practice Connecting Letters into Words
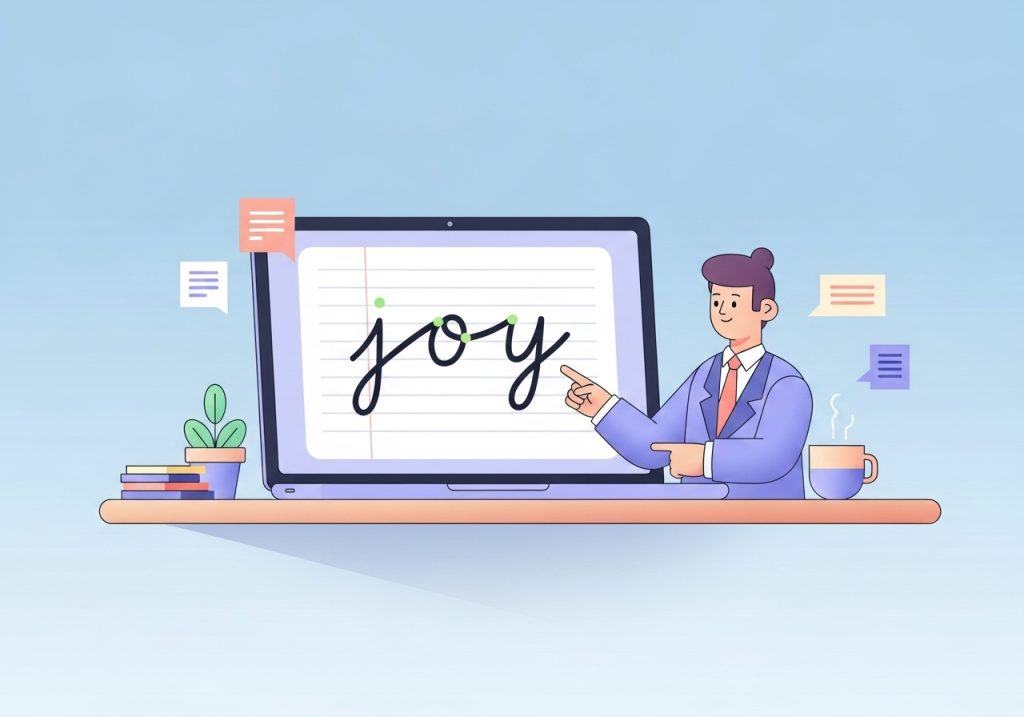
The essence of cursive is the fluid connection between letters. Once a learner is comfortable forming individual lowercase letters, the next step is to join them together. This is often the most challenging part, as the exit stroke of one letter must seamlessly become the entry stroke of the next.
Tips for Practicing Connections
- Start Simple: Begin by connecting two-letter combinations, especially those that appear frequently (e.g., th, er, an, in).
- Focus on Flow: Encourage the learner to keep the pencil on the paper as much as possible, focusing on a smooth, continuous motion rather than speed.
- Use Meaningful Words: Practice with short, familiar words like the learner’s name, common sight words, or simple CVC (consonant-vowel-consonant) words.
- Address Tricky Connections: Some letters, like b, o, v, and w, have exit strokes that finish at the midline, requiring a special connector to the next letter. Practice these specifically.
Step 5: Introduce and Practice Uppercase Cursive Letters
Uppercase cursive letters can be introduced after the learner has a good grasp of lowercase letters and their connections. Many uppercase letters do not connect to the following letter in a word, so they can be taught as separate forms. Teaching them later allows the learner to first focus on the more frequently used lowercase letters and the core concept of cursive flow.
Start with uppercase letters that are similar in formation to their print counterparts (e.g., A, C, M, N, O, P, S, U, V, W, Z). Then move on to the more ornate letters that require new motor patterns (e.g., G, I, J, L, Q, T, X, Y). Practice using them to write names, the beginnings of sentences, and proper nouns.
Step 6: Refine Legibility and Build Fluency
The final stage of learning cursive is to move from careful letter formation to fluent, legible handwriting. The ultimate goal is not perfect, calligraphic script but rather handwriting that is easy to read and efficient to produce. An occupational therapist would advise focusing on big movements first before honing in on smaller details.
Key Areas for Refinement
- Slant: Encourage a consistent, forward slant for all letters. Using slanted guidelines on paper can help with this.
- Spacing: Work on uniform spacing between letters within a word and consistent spacing between words. A good rule of thumb is that the space between words should be about the width of a lowercase ‘o’.
- Size and Alignment: Ensure that letters are resting on the baseline and that their heights are consistent. Midline letters (like a, c, e) should be the same height, and ascending/descending letters should reach their respective lines.
- Pressure: Promote a relaxed grip and even pencil pressure to avoid hand fatigue and dark, smudged writing.
Learning how to write in cursive is a rewarding process that builds valuable skills beyond simple penmanship. By following these structured steps, from establishing a solid foundation to refining fluency, educators, therapists, and parents can guide learners toward mastering this timeless form of writing. The key is consistent, patient practice that prioritizes motor skill development and legibility over perfection. With the right approach, any learner can develop clear and confident cursive handwriting.
Ready to support your learners with engaging, therapist-designed materials? The Inspiring OT offers a wide range of printable activities and worksheets to build fine motor, visual motor, and handwriting skills. Created by an experienced occupational therapist, our resources make skill development practical and fun. Explore the collection to find low-prep tools that simplify your planning and help every learner succeed.
Leave a Reply