
To improve handwriting, focus on a multi-faceted approach that addresses foundational motor skills, proper posture and grip, systematic letter instruction, and consistent, multi-sensory practice. Many therapists, teachers, and parents wonder how to help a child who struggles with messy or slow writing. The key is understanding that handwriting is a complex skill that depends on more than just holding a pencil correctly. It involves core strength, hand-eye coordination, and motor planning. By breaking down the process and targeting the underlying components, you can provide effective support and help learners build confidence in their writing abilities.
Step 1: Build a Strong Foundation with Pre-Writing Skills
Before a child can write letters legibly, they need a solid base of physical skills. Handwriting is not just an activity for the hands; it involves the entire body. Core muscle strength allows a child to sit upright and stable at a desk, freeing their arms and hands for the fine motor control writing requires. Hand and finger strength are necessary to hold a pencil and apply appropriate pressure without getting tired quickly. Focusing on these foundational areas is often the most important first step.
You can build these skills through playful, everyday activities. There is no need for endless drills. Instead, integrate strengthening tasks into playtime or classroom routines. A strong foundation makes the specific act of writing much easier. Many challenges with handwriting stem from underdeveloped motor skills, so addressing these root causes is crucial. For more ideas, explore some practical ways to improve fine motor skills in preschoolers through play.
Examples of pre-writing activities include:
- Core Strength: Activities like climbing on playground equipment, doing animal walks (bear walks, crab walks), and playing on a swing help build trunk stability.
- Hand Strength: Squeezing play-doh, using spray bottles, playing with LEGOs, and using clothespins or tongs to pick up small objects are excellent for strengthening hand muscles.
- Bilateral Coordination: Tasks that require using both hands together, such as stringing beads, cutting with scissors, or tearing paper, help the brain coordinate movements.

Step 2: Establish Correct Posture and Pencil Grasp
Once a child has adequate core strength, the next step is ensuring they have a supportive setup for writing. Proper posture reduces fatigue and allows for better control of the arm, wrist, and fingers. The ideal writing posture is often called the “90-90-90” rule: feet flat on the floor with ankles at a 90-degree angle, knees bent at 90 degrees, and hips at a 90-degree angle. The desk should be about two inches above their bent elbow, allowing them to rest their forearm comfortably on the surface.
A functional pencil grasp is also important. While the “dynamic tripod grasp” (using the thumb, index, and middle finger) is often considered ideal, other grasps can be functional as long as they allow for fluid finger movements and don’t cause pain or fatigue. The key is an open web space between the thumb and index finger, which lets the small muscles in the hand move the pencil. If a child uses a tense, closed grasp, they will try to move the pencil with their whole arm, leading to messy, large letters and quick exhaustion. Pencil grips can sometimes help guide finger placement, but they work best when combined with activities that strengthen the hand’s intrinsic muscles.
Step 3: Teach Letter Formation Systematically
Teaching letters in a random order can be confusing for a child’s brain. Instead, group letters by their initial motor stroke. This approach helps reinforce motor patterns and makes learning more efficient. For example, many therapists teach “magic c” letters together (c, a, o, d, g, q) because they all start with the same C-shaped curve. Similarly, “diver” letters that start with a downward line (l, t, i, f, k) can be taught as a group. This systematic instruction helps with motor memory and can reduce common errors like letter reversals.
Consistency in how letters are formed is key. Always encourage starting letters from the top and moving down. This aligns with reading direction (left-to-right) and is the most efficient way to form letters. According to research, teaching handwriting within a meaningful writing assignment helps develop both fluency and legibility. Correct letter formation also requires good visual motor integration, so practicing activities that improve hand-eye coordination can support this process.
Step 4: Use a Multi-Sensory Approach to Practice
Worksheets have their place, but relying on them alone can make handwriting practice boring and ineffective for many children. A multi-sensory approach engages different parts of the brain and makes learning more memorable and fun. When a child feels the shape of a letter, they build a stronger mental map of how to form it. This is especially helpful for students who struggle with visual memory alone.
Get creative with your practice materials. The goal is to provide tactile and kinesthetic feedback that reinforces correct letter formation. Here are some multi-sensory ideas:
- Sand or Salt Trays: Have the child write letters with their finger in a shallow tray of sand, salt, or even sprinkles.
- Shaving Cream or Finger Paint: Spread a thin layer on a table or baking sheet and let them practice writing big letters.
- Vertical Surfaces: Writing on a chalkboard, whiteboard, or easel encourages proper wrist extension and shoulder stability.
- Building Letters: Use materials like play-doh, wiki stix, or small blocks to construct the shapes of letters.

Step 5: Focus on How to Improve the Handwriting Spacing and Sizing
A piece of writing can have perfectly formed letters but still be illegible if the sizing and spacing are inconsistent. Many children struggle with knowing where to place letters on the line, how big to make them, and how much space to leave between words. Using visual aids can make these abstract concepts more concrete. Adapted paper with highlighted lines, for example, can show a child where lowercase letters should sit and where tall letters should reach.
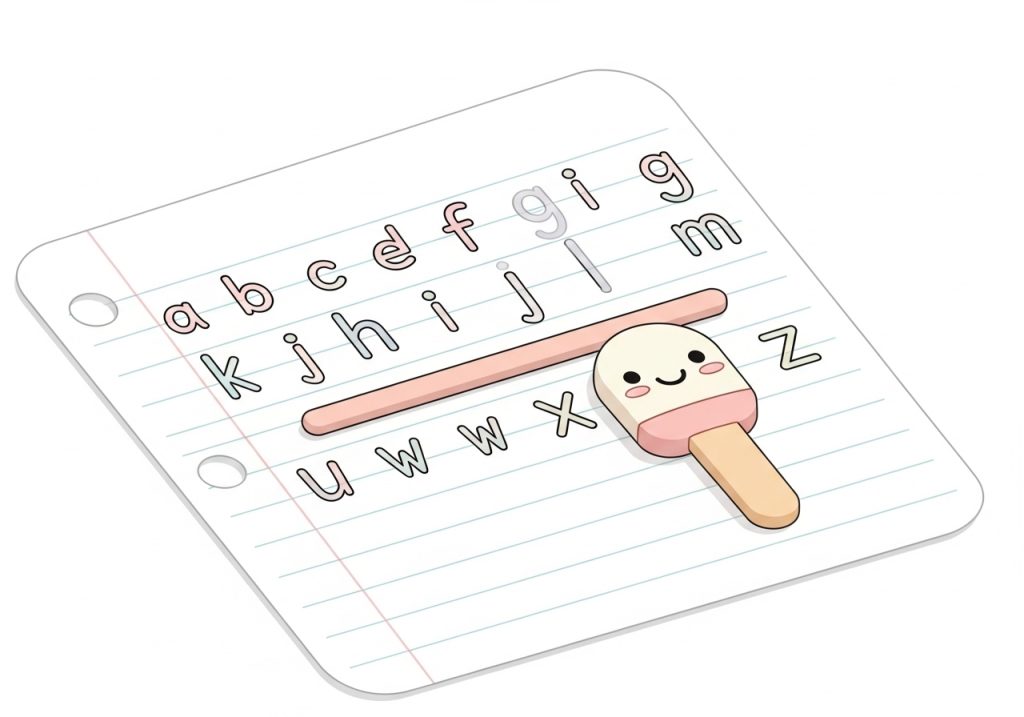
To teach spacing between words, use a physical object as a guide. A small craft stick, a LEGO block, or even the child’s own fingertip can be a “spacer tool.” They can place it on the paper after each word to remind them to leave a space. This turns the abstract rule of “finger spacing” into a tangible action. The National Handwriting Association suggests that using printable line guides helps secure the correct positioning of letters and is beneficial for learners of all ages.
Step 6: Provide Specific, Positive Feedback
When a child is struggling, it is easy to focus on the mistakes. However, constant correction can crush motivation and make them anxious about writing. Instead, shift your feedback to be specific and positive. Acknowledge their effort and point out what they did correctly, even if the overall result is not perfect. This helps build their confidence and encourages them to keep trying.
Instead of a general comment like “This is messy,” try something more specific and constructive. For example, “I can see you started all your letters at the top, that’s fantastic!” or “You left a perfect space after that word.” By highlighting successes, you reinforce good habits and show the child that progress is possible. This approach helps them develop a growth mindset, where they see challenges as opportunities to learn rather than as signs of failure.
Improving handwriting is a gradual process that involves building a strong foundation of motor skills and then systematically teaching letter formation, spacing, and sizing. By using a multi-sensory approach and providing positive, specific feedback, you can make the learning process more effective and less frustrating. The goal is not perfection but legible, functional writing that allows a child to express their ideas without physical strain or anxiety. Start by observing the learner to identify which of these areas needs the most support and introduce activities that are both playful and purposeful.
Ready to put these strategies into action? Finding the right tools can make a significant difference. The Inspiring OT offers a wide range of practical, evidence-informed resources designed by an experienced occupational therapist. Explore our shop for printable activities, worksheets, and guides to support fine motor skills, handwriting, and more. Simplify your planning and help your learners build skills with engaging, low-prep materials available at The Inspiring OT on Teachers Pay Teachers.
Leave a Reply